Installation guide for PTE leak testing step by step tips
April 17, 2026 4:31 amUnderstanding PTE Leak Testing and Why Proper Installation is Critical
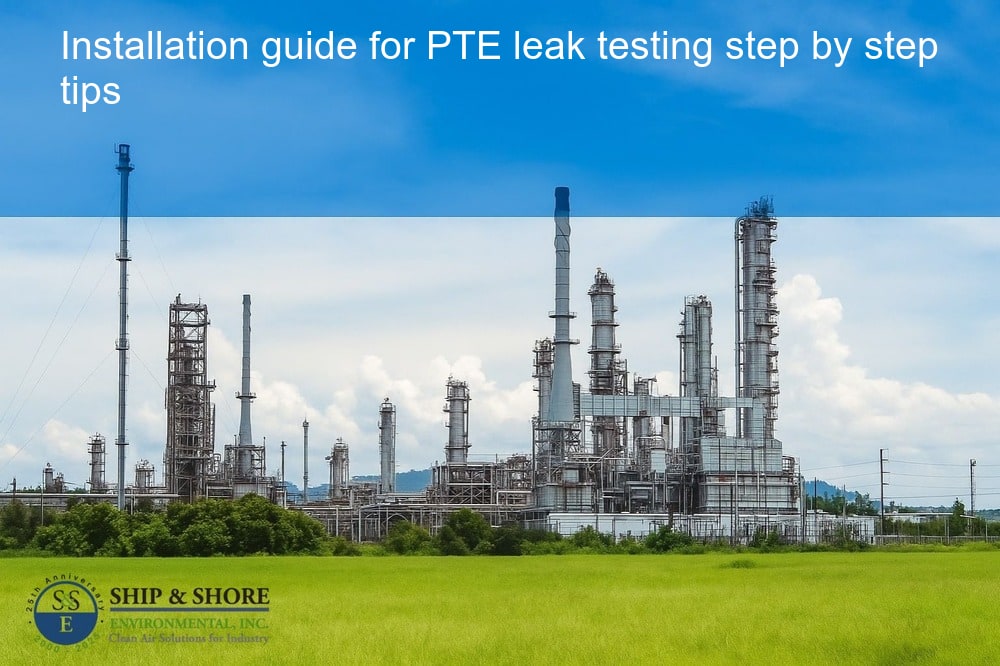
At Ship & Shore Environmental, we understand how essential a robust installation guide for PTE leak testing is for ensuring the long-term efficiency and compliance of your emission control systems. Permanent Total Enclosures (PTEs) serve as critical barriers to contain and capture volatile organic compounds (VOCs) and hazardous air pollutants before they escape into the environment. Leak testing verifies the integrity of these enclosures, providing confidence that emissions are effectively contained – even under challenging operating conditions.
Adhering to the highest standards during installation and leak testing is not just about ticking boxes for compliance. Poorly installed systems can result in undetected leaks, regulatory actions, increased maintenance, and loss of product. A comprehensive, step-by-step installation guide for PTE leak testing helps mitigate these risks, ensuring your investment pays dividends in reliability, safety, and regulatory approval. In this article, we’ll take you through each phase of installation, from initial tool selection to post-installation troubleshooting, drawing from our decades of experience in emission capture and abatement.
Essential Tools and Preparation for PTE Leak Test Installation
Installations begin long before the first piece of equipment arrives on site. Assembling the right tools and materials is the first step in our installation guide for PTE leak testing. Our decades of fabrication and field experience indicate that cutting corners at this stage can multiply project headaches further down the line.
Key tools to gather include calibrated pressure gauges, non-destructive leak detectors (such as ultrasonic or electronic detectors), certified tape measures, and data logging equipment. High-quality gaskets, compliant sealants, and mechanical fasteners are crucial for ensuring all joints remain leak-tight. Digital cameras for documentation, and personal protective equipment for worker safety, should always be available.
Before setup, we recommend an exhaustive review of facility drawings and the PTE manufacturer’s schematics to plan out critical connections. Identify all interface points between the PTE and the process area, since these are where leaks most frequently occur. Consult with our fabrication and assembly experts (Fabrication & Assembly Services) early on for guidance on custom enclosure components or retrofit needs. Pre-commissioning site walkthroughs can uncover site-specific obstacles, such as obstructions or legacy infrastructure, that need solutions prior to installation.
In some cases, local permitting requirements or third-party oversight may affect leak testing procedures. Always review the most recent air quality guidance from the EPA or your state’s department of environmental quality – compliance starts with awareness. For additional industry best practices, consider reviewing the EPA’s air quality guidance resources.
Installation Guide for PTE Leak Testing: Step-by-Step Process
When it’s time for on-site installation and testing, following a clear, repeatable process eliminates confusion and minimizes rework. Our proven installation guide for PTE leak testing involves a series of logical steps, meticulously executed to guarantee consistent results.
Step 1: Positioning and Securing the PTE Structure
Use a certified lifting plan to move enclosure panels and frames into their designated locations. Secure all structural elements with the specified anchors, ensuring the foundation can support dynamic and static loads. Confirm alignment with collection ductwork, referencing drawings and using laser levels if available.
Step 2: Initial Assembly of Walls, Roof, and Panel Joints
Assemble wall sections, transparent panels, and roof elements, ensuring each joint is free of debris before applying gaskets or sealant. Align panels without forcing; overtightening can warp material and cause micro-leaks. Tighten fasteners in a sequential, crisscross pattern to distribute pressure evenly across the joint. For complex layouts, our PTE solutions team offers design support to optimize enclosure airflow paths and maintenance access.
Step 3: Integration with Collection Systems
Connect the PTE to your capture system using flexible duct runs, flanges, and dampers as specified in the design package. Ensure flange gaskets are seated properly and all clamps or bolts meet torque specifications. During this stage, validate that bypasses and access hatches are properly sealed. For custom collection systems, reference our collection system design and fabrication expertise.
Step 4: Pre-Testing Inspection
Before performing the actual leak test, inspect every seam, door, and penetrative fitting. Look for gaps, pinched gaskets, or visible deformations. Document any irregularities with photos for project records. Ensure all test ports are correctly located and accessible.
Step 5: Conducting the PTE Leak Test
Install calibrated test instrumentation per the procedure outlined in the system-specific installation guide for PTE leak testing. Two common methods are used:
- Differential pressure decay testing, where the enclosure is pressurized slightly above atmospheric and monitored for pressure loss over time.
- Tracer gas (smoke or SF6) introduction, observing for any outward leakage at seams and penetrations.
Monitor, document, and log all results with reference to the target acceptance criteria. Should a section fail, mark affected areas for immediate repair and retest after remedial work.
Common Installation Challenges and Practical Solutions
While a thorough installation guide for PTE leak testing can prevent most problems, every facility and project presents unique obstacles. Over the years, our field teams have encountered some recurring issues – and we’ve refined proven strategies for overcoming them.
One frequent problem is incomplete tightening of fasteners at enclosure joints, which creates small but persistent leak paths. Our approach mandates double-inspection of all mechanical connections and real-time documentation to catch mistakes early. Another challenge is poorly applied sealant, which can deteriorate over time or fail to cover critical gaps. For optimal sealing, we recommend following the precise application patterns outlined in the sealant manufacturer’s instructions and avoiding overuse, which can lead to messy joints.
Obstructions from existing equipment or tight working areas often require custom panel cuts or bracket modifications. Our installation services team is adept at on-the-spot field modifications, ensuring system integrity even when original layouts require adjustments. Humidity, temperature swings, and unplanned process upsets can degrade sealants or cause material expansion/contraction, so always factor local environmental conditions into planning and material selection.
On larger enclosures, thermal expansion and contraction can stress panel joints over time. This is why periodic visual inspections – especially within the first weeks after installation – are a best practice. For long-term peace of mind, we recommend integrating leak testing into your facility’s ongoing maintenance schedule.
Best Practices and Post-Installation Troubleshooting for PTE Leak Testing
The most effective installation guide for PTE leak testing doesn’t end at commissioning. We believe in a holistic approach that covers maintenance, documentation, and proactive troubleshooting for sustained performance.
First, capture all data during leak testing, including the test method used, environmental conditions, and observations about any corrective actions taken. This log serves as both a quality record and a knowledge base for future troubleshooting. If leaks are detected after initial commissioning, the following steps can help pinpoint and resolve issues quickly:
- Reinspect all seams, paying special attention to access and maintenance hatches.
- Use a smoke pencil or ultrasonic leak detector to trace elusive leaks not visible to the naked eye.
- If a joint consistently fails, consider replacing gaskets with higher-performance alternatives or shifting to welded, rather than mechanical, connections in high-stress areas.
When the enclosure is operational, periodically repeat pressure decay or smoke testing, especially after any significant maintenance work involving doors, hatches, or ductwork interfaces.
Another critical best practice involves training your facility team on the basics of leak detection and repair. Empowering operators to identify early warning signs – such as visible stains on sealant, hissing sounds, or unusual odors – can prevent minor issues from becoming major environmental or regulatory problems.
If recurring leaks continue despite upgrades, consult with our engineering group. Material compatibility problems or unexpected mechanical stresses sometimes emerge only after months in service, necessitating a deeper review of enclosure design and components.
Final Thoughts and the Value of Expert Installation for PTE Leak Testing
In summary, our installation guide for PTE leak testing provides a comprehensive framework for achieving and maintaining airtight enclosures. Every project’s success depends on attention to detail – starting with selection of the right tools, thorough preparation, precise assembly, rigorous testing, and proactive troubleshooting. By prioritizing these steps, we help our clients attain compliance, reduce emissions, and protect their investment for the long term.
Consistent installation and maintenance routines are your best defense against costly environmental and operational risks. At Ship & Shore Environmental, our end-to-end approach – from initial design to fabrication and on-site deployment – ensures every enclosure works as intended. For complex projects involving multiple process lines, or unique production conditions, our seasoned installation and design experts are ready to tailor a leak testing solution for your facility. Learn more about our fabrication, assembly, and installation services for air pollution control systems on our site, or reach out to our team directly for support.
Ready to improve your facility’s emission controls? Visit our PTE solutions page, explore our advanced collection system designs, or connect with us for a tailored consultation. Our experienced professionals can provide a complimentary review of your enclosure installation plans and answer all your technical questions.
Ensure your environmental compliance and operational safety – contact Ship & Shore Environmental today for expert assistance with PTE installation and leak testing.
FAQ
What is PTE leak testing and why is it important?
PTE leak testing ensures that your Pressure Test Equipment (PTE) systems are free from leaks, maintaining safety and regulatory compliance. At Ship & Shore Environmental, we emphasize this process because even minor leaks can lead to system failures or increased emissions. For best results, always follow a reliable installation guide for PTE leak testing.
What tools do we need for a proper PTE leak test installation?
Generally, you will need calibration devices, certified pressure gauges, sealing fittings, and specialized test plugs. Additionally, having leak detection solutions and proper documentation tools is crucial. Our installation guide for PTE leak testing details each tool and provides tips for sourcing high-quality equipment.
How should we prepare before starting the PTE leak test setup?
Before installation, it’s vital to inspect all components and ensure everything is clean and functional. In addition, check system manuals, arrange required tools, and review safety protocols. Preparation not only saves time but also prevents common setup issues and costly rework.
What are some common issues faced during PTE leak test installation?
We often see issues such as improper fitting connections, inaccurate gauge readings, or leaks caused by damaged seals. Furthermore, contamination or incorrect calibration can disrupt accurate testing. Following our best practices minimizes these issues and increases reliability.
How can we troubleshoot problems after installing the PTE leak test system?
If you notice inconsistent pressure readings or suspect a leak, start by reinspecting all connections and seals. Utilize detection solutions along joints and valves, and recalibrate your gauges if needed. Moreover, our Installation guide for PTE leak testing offers advanced troubleshooting tips for persistent issues.
Categorised in: Blog